T-shirt Cotton Slim Man′S T Shirt,Slim Man′S T Shirt,Man′S T Shirt,Children'S T-Shirt shaoxing junjia textile co.,ltd , https://www.junswim.com
pattern mash-up tutorial: verdun woven t-shirt and classic shirt
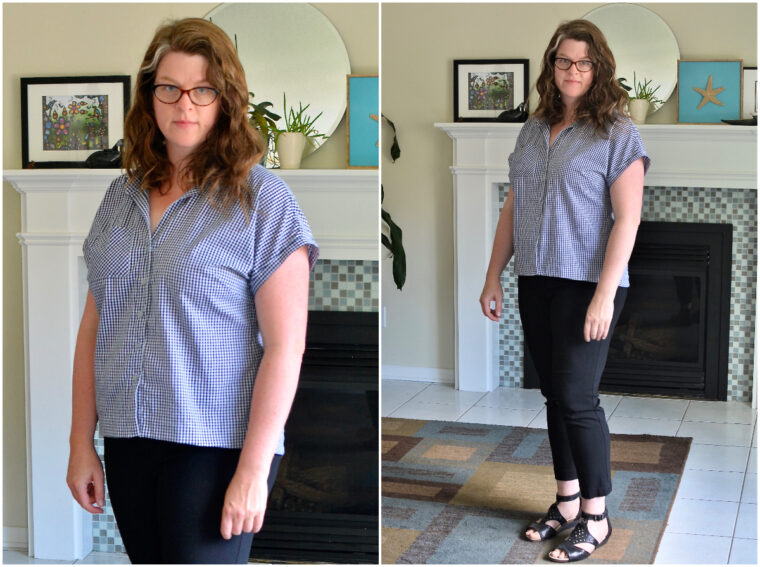
I was fortunate enough to get the opportunity to try out the Verdun Woven T-shirt before it hit the market, and ever since then, I’ve been wearing my tester version almost daily! It feels more polished than a regular knit tee but just as comfy. What I absolutely adore is the way the hem is shaped and finished. The curve is distinct, and the hem facings give it a really sleek touch.
After finishing my first version, I kept thinking about how cool it would look with buttons and a collar. I’ve made quite a few Classic Shirts by now, and I figured the collar and placket would pair beautifully with the Verdun. Below is a quick guide on how I went about modifying mine.
---
### Pattern Piece List
For the Classic Shirt (or any collared shirt you prefer), you’ll need these pieces:
- Shirt Front
- Yoke
- Collar
- Collar Facing
- Collar Band
From the original Verdun Woven T-Shirt pattern, you’ll need:
- Shirt Front
- Shirt Back
- Hem Facing Front
- Hem Facing Back
---
### Preparing the Pattern and Cutting the Pieces
The only piece you won’t alter is the Hem Facing Back. For the rest, here's what you’ll need to do:
Lay the modified Verdun Shirt Front over the Classic Shirt Front, aligning the top inside shoulder. Redraw the neckline to match the Classic Shirt’s neckline (the shaded blue area in the photo).
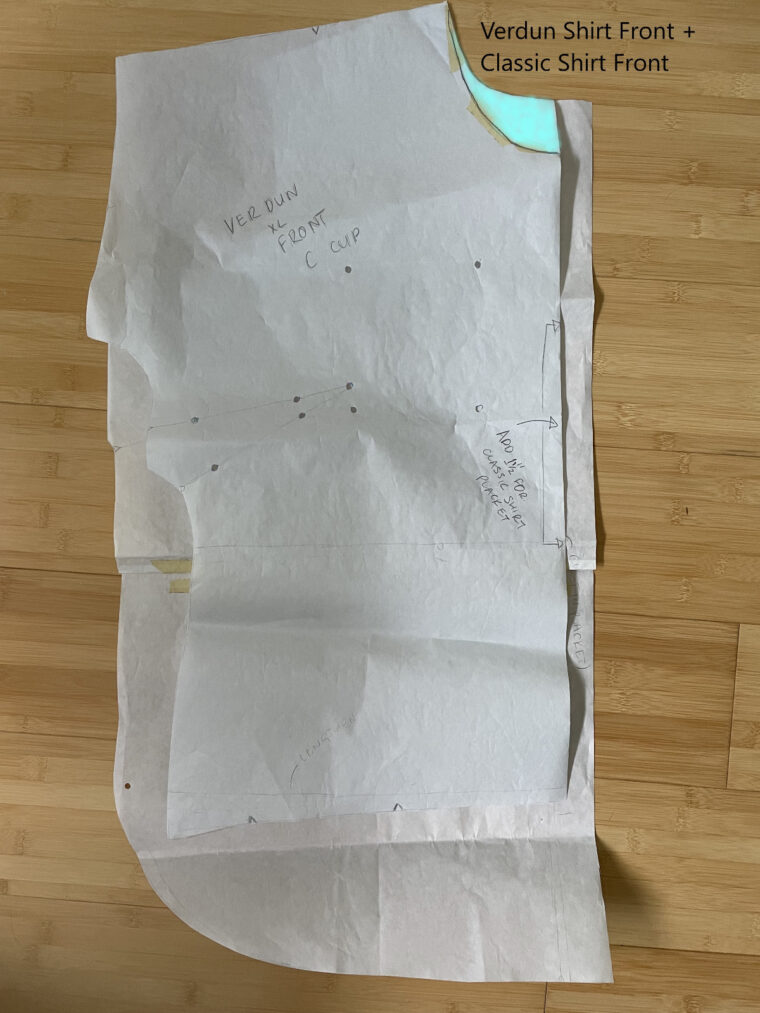
Add 1 ½ inches to the center front of the new pattern piece for the button placket (not shown). Remember to cut the shirt front into two mirrored pieces instead of one folded piece.
Align the modified Verdun Shirt Back with the Classic Shirt Yoke, matching up the top inside shoulder again. Redraw the neckline to fit the Classic Shirt neckline (shaded blue area in the photo).

Measure the difference between your new neckline and the original Classic Shirt neckline. Add that difference to your collar pattern pieces (blue shaded area in the photo).
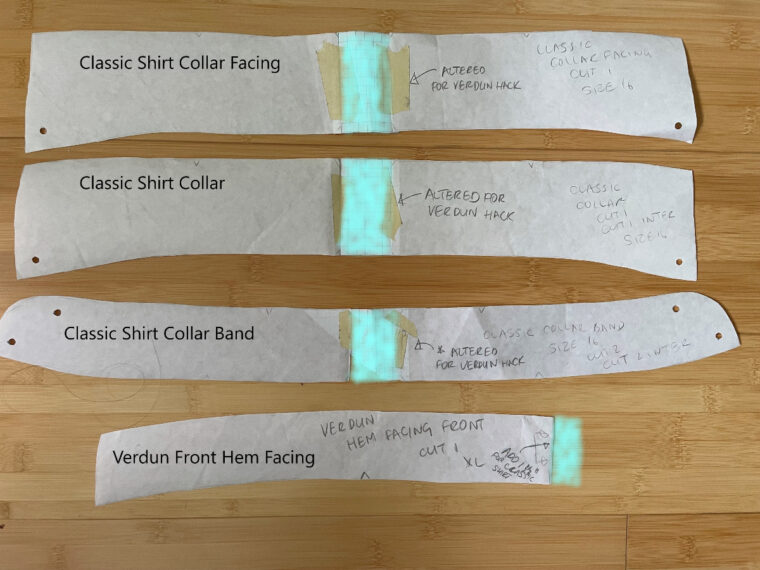
Also, add 1 ½ inches to the front of your Front Hem Facing (blue shaded area above) and cut two mirrored pieces instead of folding it.
---
### Sewing Instructions
Now you’re ready to sew! Begin with the standard Verdun instructions: staystitch the neckline, sew the darts, and add the pockets if desired. Then move forward to attach the front hem facing. This ensures a clean finish when you sew the placket.
Next, follow the Classic Shirt instructions to create the continuous cut-on placket. Turn the front hem facing inward so it gets enclosed in the placket.
Sew the shoulders (refer to the Verdun instructions if needed), then continue with the Classic Shirt steps: creating and attaching the collar band, preparing the collar, and attaching the collar to the collar band. Finally, stitch the back hem facing to the hem.
When stitching the side seams, keep the hem facings unfolded and sew them with the side seams. Fold the entire hem facing inward and stitch as per the Verdun instructions. Finish your sleeves—this time, I added a 1-inch cuff instead of hemming them.
---
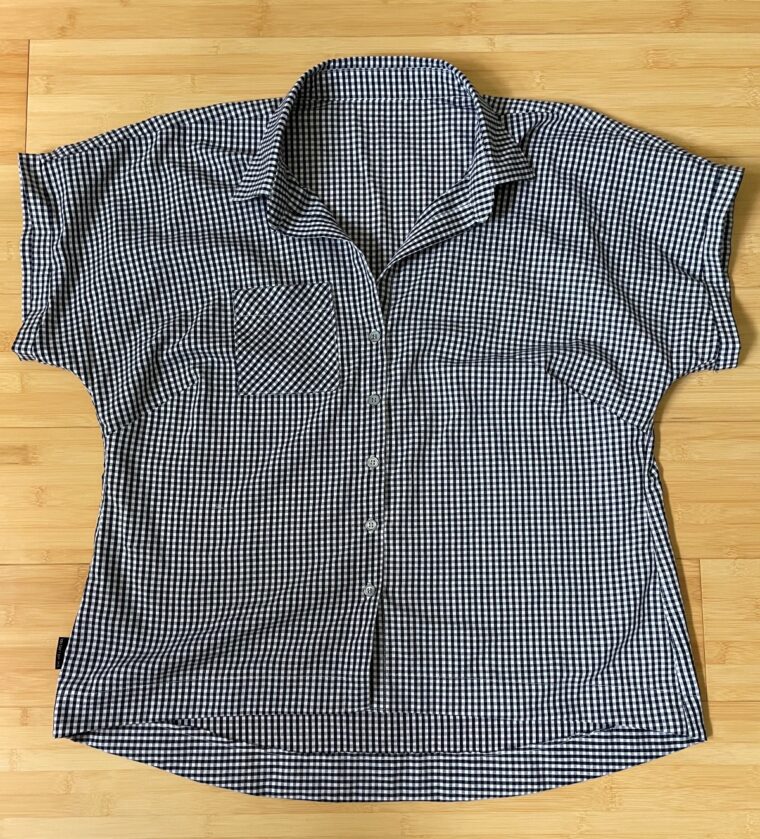
And voilà ! You’ve got yourself a brand-new button-up shirt. I hope you enjoy making and wearing it as much as I do. Let me know if you have any questions or need further tips along the way!
Happy sewing!